Google Shows the Wrong Price: 3 Places to Check After a Price Cut
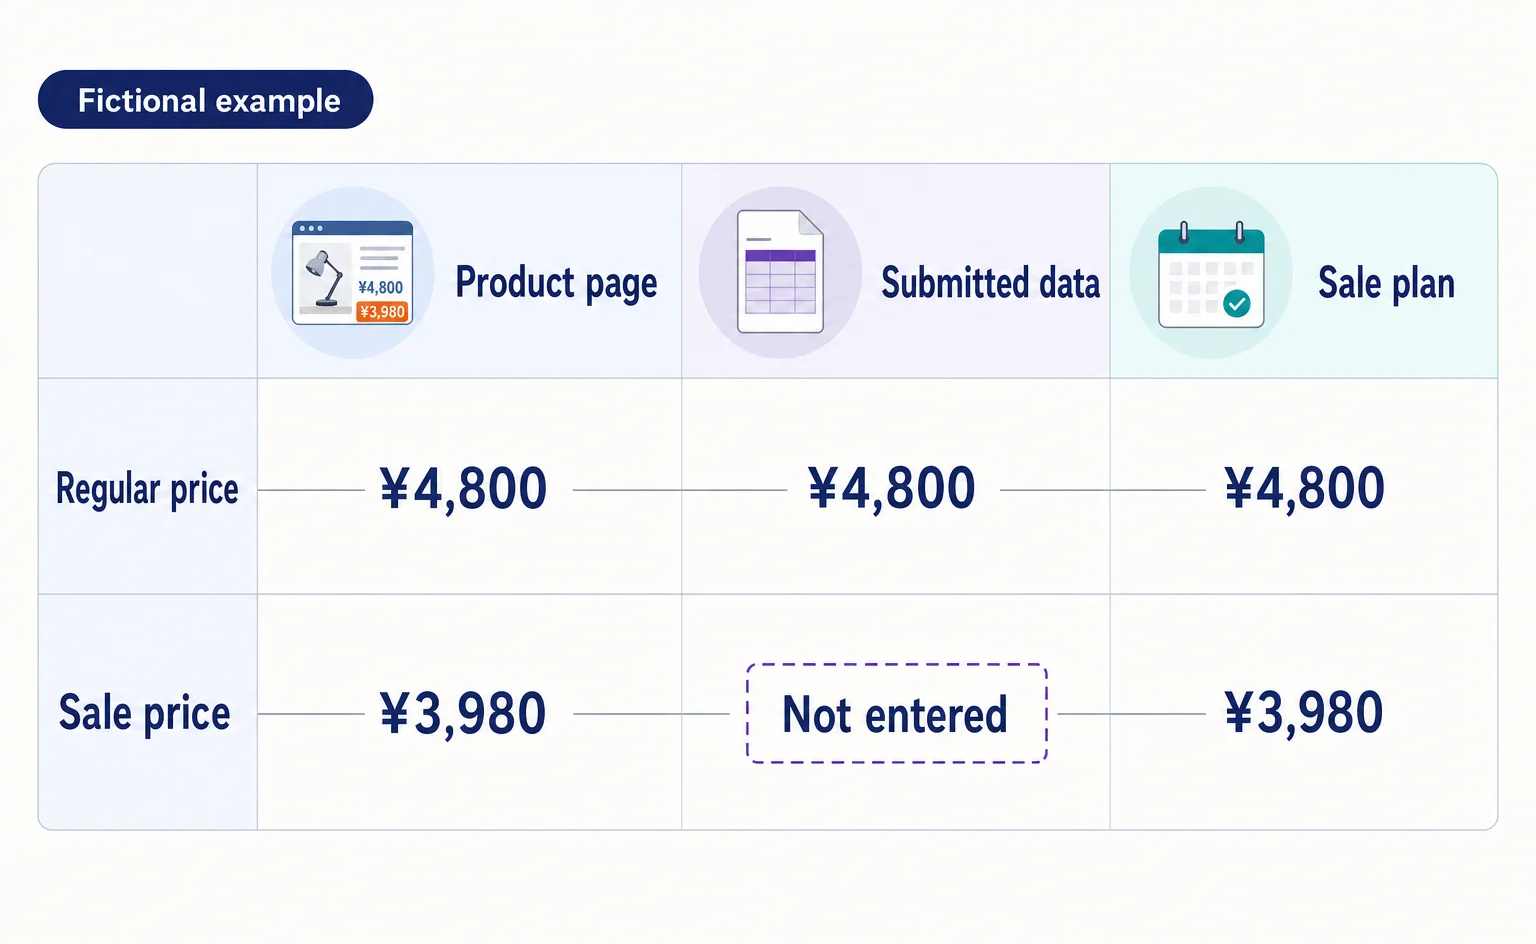
If Google still shows an old price after you lower it on your product page, compare the page, the product data sent to Google, and the sale conditions. A fictional example explains where to make corrections and how to check approval status afterward.
You have lowered the price on your product page, but your product listing on Google still shows the old price. When this happens, compare three places—the product page, the product data sent to Google, and the sale conditions—for the same product at the same time. This article explains how managers of ecommerce sites serving Japan can narrow down where outdated information remains, make corrections, and check the result.
The scope is product listings managed through Merchant Center, Google's service for submitting and managing product information. This article does not cover every price displayed on Google, such as prices left in the descriptions of standard search results.
References checked: September 15, 2026. The instructions are based on Google's official help documentation. Checkout steps and integration service procedures vary by site and service.
First, compare the same product under the same conditions
Google checks submitted prices against prices on product pages and elsewhere. A mismatch can lead to product disapproval.[1] However, a difference between the regular price and the sale price does not, by itself, indicate an error.
The following is a fictional example created for this article. It does not represent a real store's settings or actual Google listing results. The product is a “desk lamp, white, one unit,” with a regular price of ¥4,800 including tax and a limited-time price of ¥3,980 including tax.
We are checking the situation at 10:00 a.m. on September 15. The sale was scheduled to start at 9:00 a.m. that day, but the information sent to Google contains only the regular price. In this case, before changing the product page price from ¥3,980 back to ¥4,800, check whether the sale information was omitted from the submission.
Summarize the comparison conditions in one line
First, record the following in the spreadsheet or work notes your team uses. This is a custom worksheet for investigating the issue, not product data for submission. Replace the fictional product name and times with your own product and actual records.
| What to record | Illustrative entry |
|---|---|
| Target product | Desk lamp, white, one unit |
| Product page | Copy and enter the URL, or web address, of the relevant product page on your site |
| Date and time checked | September 15, 2026, 10:00 a.m., Japan Standard Time |
| Intended price | ¥3,980 including tax, excluding shipping |
| Conditions | Available to all shoppers; no coupon required |
| Scheduled period | September 15, 9:00 a.m. to September 22, 9:00 a.m., Japan Standard Time |
The product page URL is the address identifying that page's location. Keep it in your records to avoid mixing in pages for other colors or multipacks. Adding “Japan Standard Time” helps prevent confusion between the periods before and after the sale starts.
The “Intended price” field is not for copying the number shown in a notification. It is where you first establish the correct outcome, using information such as the sale plan approved by the person responsible for sales.
1. Check the actual purchase conditions on the product page
Start with the amount you are presenting to shoppers. Open the product page you recorded and confirm the target color, size, and quantity. Then note the displayed price, currency, and discount conditions.
Google's price requirements call for the submitted amount and currency to match the product page and checkout. For Japan, use tax-inclusive prices and keep shipping costs separate from the product price. Prices for each color or size must also be clear.[2]
For the fictional desk lamp, compare the “tax-inclusive price for one white lamp.” If ¥3,980 applies only to another color, or if it is the per-unit price when buying two lamps, you are not comparing the same product price.
The following table is another custom illustrative worksheet. During an actual check, leave unchecked fields marked “Not checked” rather than marking them as a match.
| What to check on the product page side | Fictional record | Assessment |
|---|---|---|
| Selected product | White, one unit | Same as the target product |
| Displayed price | Regular: ¥4,800; sale: ¥3,980 | Each price's role is clear |
| Tax and currency | Tax included; Japanese yen | Matches the comparison conditions |
| Discount conditions | Available to all shoppers; no coupon required | No special eligibility required |
| Product amount at checkout | Not checked | Do not treat this as a match |
At checkout, first compare the amount for the target product, not the total payment including shipping. Checkout steps vary by site, but do not interpret this price check as requiring you to place an order.
If only the total including shipping differs, investigate shipping settings separately before changing the product price.
Do not identify the cause from the visible price alone
Even if the displayed price is correct, the page may still contain outdated “structured data”—product information intended for machines to read. Google's help documentation also identifies mechanisms that change a price after the page loads as a possible cause of mismatches.[1]
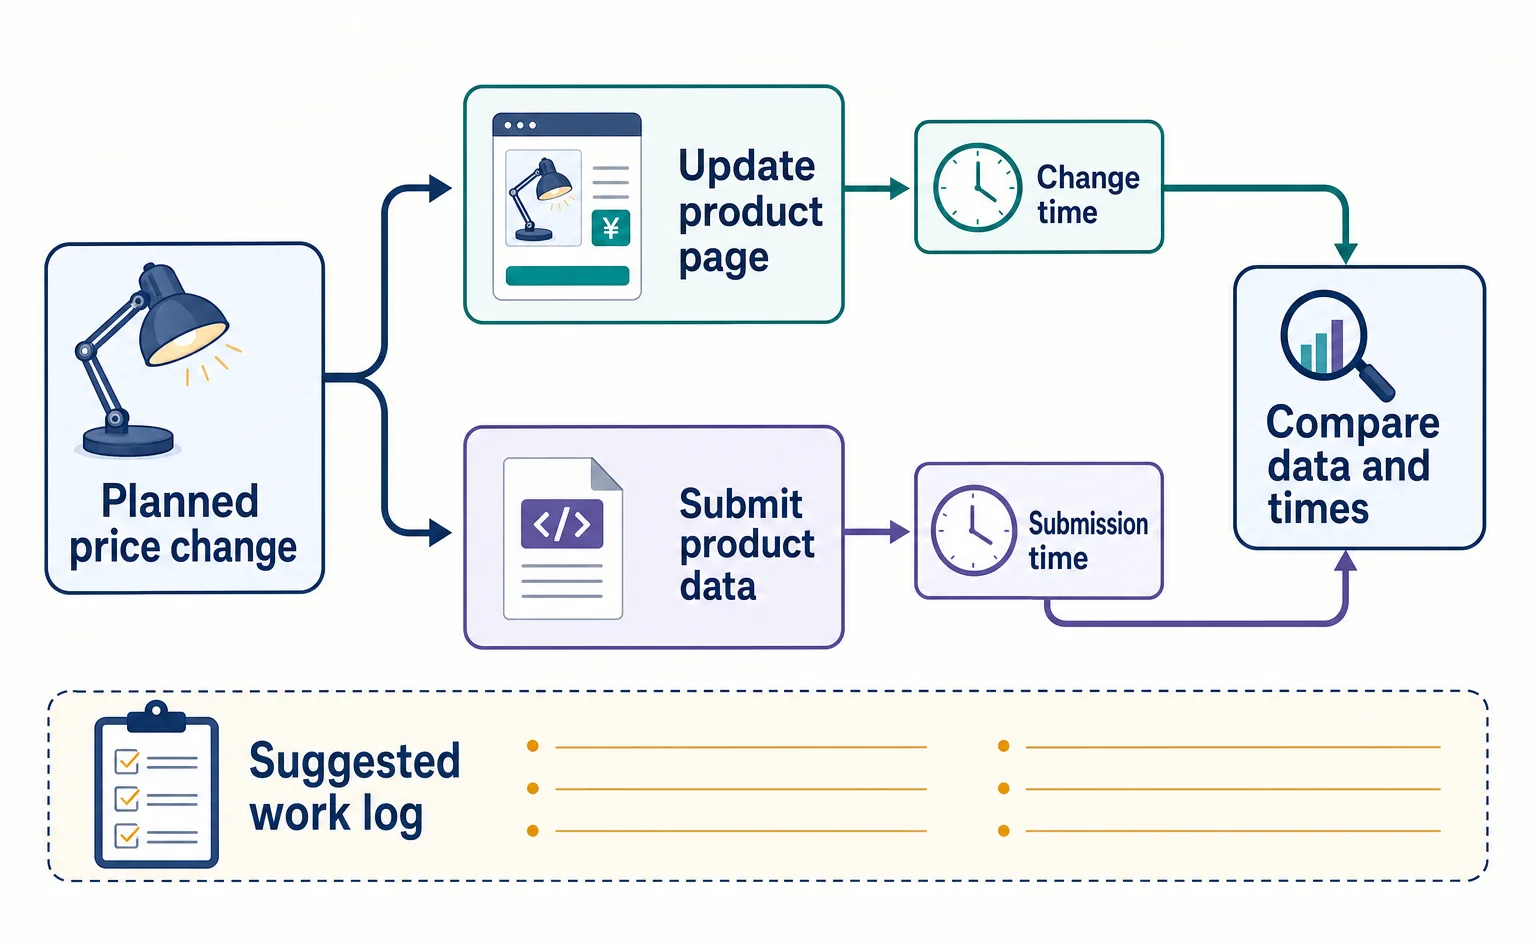
At this stage, record the target page, the correct price, and the time checked. Give these three details to the person responsible for maintaining the page, along with a request to check whether the old price remains anywhere other than the visible display. Ask that person to carry out detailed checks of structured data and any mechanism that changes the price.
2. Compare the product data sent to Google and the update times
Next, check whether the work stopped after the page was changed. Product data sent to Merchant Center includes a field called price, which supplies the selling price. Google's official help calls product data fields “attributes.”[2]
For this investigation, use the file actually sent or the submission records held by your integration service, rather than a draft of a planned update. If there is no record you can verify, write “Latest submission not verified” instead of assuming the data was sent. This article does not specify screen names for individual integration services.
The following custom illustrative worksheet uses the same desk lamp. “Submitted data” means the product data sent to Google, while “update records” show when information was changed or sent.
| Where to compare | Fictional record | What to investigate |
|---|---|---|
| Product page | Changed to ¥3,980 on September 15 at 9:00 a.m. | Was the change made live as scheduled? |
| Regular price in submitted data | ¥4,800 | Is this correct as the regular price? |
| Sale price in submitted data | Blank | Was the sale information omitted? |
| Latest submission record | September 14, 6:00 p.m. | Was a submission containing this change sent? |
| Mismatch notification time | September 15, 9:30 a.m. | Was this before or after the change and submission? |
In this example, the regular price of ¥4,800 is not necessarily wrong. If you submit the sale price separately, you retain the regular price. The first thing to check is whether an update containing the sale information was sent.
Also record “the time the site was updated” and “the time the product data was sent” separately. Describing both simply as “Updated” makes it unclear which task was completed.
3. Check the sale price and its effective period
For a limited-time price reduction, check when the price applies as well as the amount. The sale_price field supplies the price during the sale, and sale_price_effective_date supplies the period when it applies. Even when you use a sale price, keep the regular price in price.[3]
The official help explains that if you do not submit an effective period, the sale price applies immediately. This does not mean every Google listing is updated instantly. You must also clearly display the regular and sale prices on the product page and make the product price at checkout match the sale price.[3]
Look for timing differences before changing the amount
The following is a custom checklist for comparing the desk lamp's sale plan with the submitted data. It is not a format you can upload as-is. For the actual input format and where to make corrections, see “If you need to correct sale information” below.
| Item to check | Intended plan | Fictional submitted data | Assessment |
|---|---|---|---|
| Regular price | ¥4,800 | ¥4,800 | Leave unchanged |
| Sale price | ¥3,980 | Blank | Needs to be added |
| Start | September 15, 9:00 a.m., Japan Standard Time | Blank | Check against the plan and enter |
| End | September 22, 9:00 a.m., Japan Standard Time | Blank | Check against the plan and enter |
| Target product | White, one unit | White, one unit | Same target |
If a period has already been entered, check not only the start date but also the end date and the “time zone,” which identifies the regional time being used. Google lists incorrect sale dates, times, and time zones as possible causes of price mismatches.[1]
If you find a members-only price or a coupon price, investigate it separately from a price reduction available to all shoppers. The official price requirements set conditions for submitting coupon prices, including that all users must be able to use the coupon, and instruct merchants not to put member prices in the regular price or sale price fields.[2]
An illustrative before-and-after plan
The table below proposes corrections for the same fictional product. It is a custom editorial example explaining what to change, not an actual approved result.
| Location | Before | Proposed state after correction |
|---|---|---|
| Product page | Regular: ¥4,800; sale: ¥3,980 | Keep the display unchanged |
| Submitted regular price | ¥4,800 | Keep ¥4,800 |
| Submitted sale price | Not entered | Enter ¥3,980 |
| Submitted sale period | Not entered | Enter the planned start, end, and time zone |
| Work record | Only says “Site updated” | Record the site change time and submission time separately |
The place to correct is not necessarily where the lower number appears. In this example, the proposed fix is to add the missing sale information rather than return the page to the higher price.
Save the corrections and check the current approval status
Use different fields to fix an incorrect regular price and to add missing sale information. The desk lamp example in this article is the latter case.
If you need to correct the regular price directly
The person making the price correction should sign in to Merchant Center with permission to edit products in the relevant account. The official route for directly correcting the regular price is “Products & store” → “Products” → “Needs attention” → the relevant product name → “Edit product.” Enter the price that matches the site and select “Save.”[1]
For multiple products, download the list of affected items from “Needs attention” and compare it with the source product data. After making corrections, resubmit the data using your usual upload method.[1]
If you need to correct sale information
In this example, do not simply overwrite the regular price. Correct the target product's sale price and effective period in the file you actually send to Google, or at the source used by your integration service. Editing only your investigation notes does not update the product data.
- In the source data, find the product with the same color and quantity as the one you are investigating. If you use an integration service, check which input fields are sent as
price,sale_price, andsale_price_effective_date. If you cannot identify the corresponding fields, give these three field names to the person responsible for the service and ask them to confirm. - Keep the regular price in
priceand enter the sale price insale_price. Check the “Format” section of the official sale price help for the format that matches the data format you use.[3] - In
sale_price_effective_date, enter the effective period matching the approved sale plan. Open the dedicated help page for sale price effective dates, linked from source [3], and check its “Format” section. Compare the start, end, and time zone. Do not use the human-readable wording in the checklist above as the actual value to submit.[1][3] - Save the corrections and resubmit the product data using your usual upload method. If you use an integration service, follow its update and submission procedures, then verify the content actually sent and the submission time.[1]
Here is an example of entering the amounts specifically in CSV format, a file format that stores table data as comma-separated values. For the target product, the example is 4800.00 JPY in the price field and 3980.00 JPY in the sale_price field.[2][3] These are individual field examples using fictional amounts, not a complete file ready for upload. Do not submit them as-is to your live account; replace them with your own correct values. Create the period value only after checking the required format in the dedicated help page. If you are entering information on an integration service's screen, follow that service's input method rather than this CSV notation.
After submission, check the current approval status
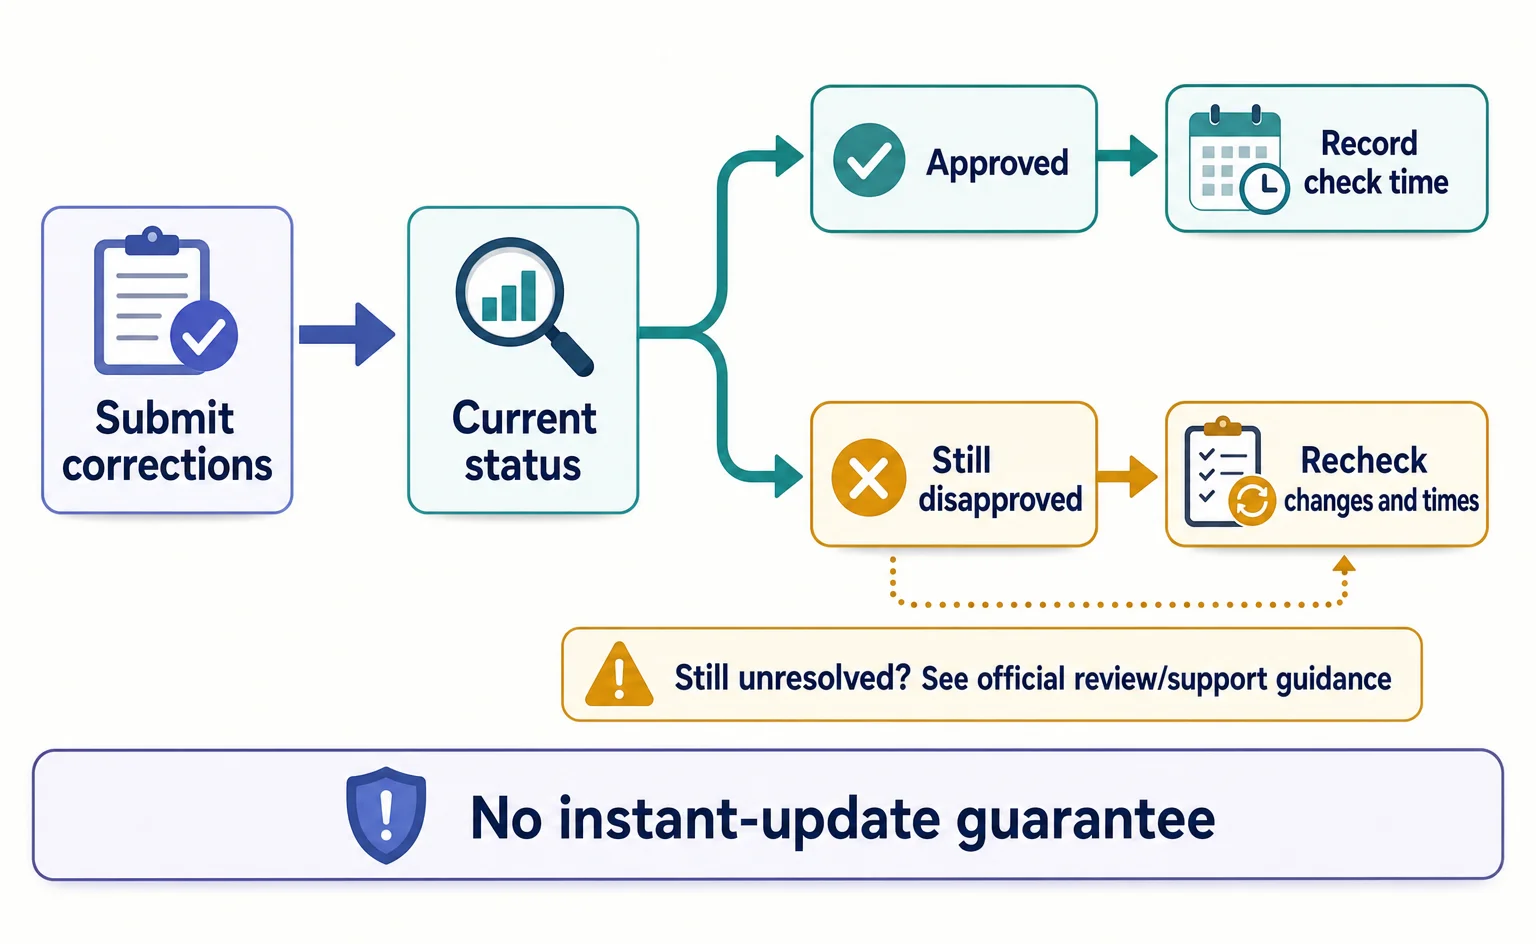
Google's guidance says that fetching the page again for rechecking can take a few hours to a few days, and may take longer in some circumstances. Check the current approval status in the “Status” column under “Products” → “All products.”[1] Do not confuse the date and time of an old notification with the current status.
Automatic item updates also take place when Google fetches the page. They do not replace regular resubmission of your product data.[2] If the display does not change immediately after you save, compare the corrections and submission time before repeatedly changing the amount.
If you have just made a correction, wait for the automatic page fetch and recheck, then check the current status again. There is also a way to request website verification after making corrections. Verification may take about 12 hours, during which you cannot send another verification request.[1]
If the issue remains after you recheck the page and submitted data, go to “Step 2: Request a review” in the official help. It explains how to use “I disagree with the issue” → “Request review” when an update has not resolved the problem, and how to contact support if you do not know how to fix it. The number of reviews may be limited, so check the on-screen guidance and avoid repeating the same request. If the procedure differs for your integration service, check with that service.[1]
Finally, record “Page checked,” “Corrected data submitted,” and “Approval status checked” as separate items in your work notes. If any step remains unverified, hand that task to the next person responsible. Since the plan also calls for returning to the regular price when the sale ends, set a time to check after the sale as well as at its start. You can then reuse the same comparison worksheet.
FAQ
- Q. If I lower the price on the product page, will Google's price change immediately?
- An immediate change is not guaranteed. In addition to updating product data, Google may need to recheck the page. Automatic updates also happen when Google fetches the page, so regular resubmission of product data is still required.[1][2]
- Q. During a sale, should I also replace the regular price with the sale price?
- If you use the sale price field, keep the original price in the regular price field. If you do not submit a separate sale price, the guidance says to submit the sale price in the price field.[3]
- Q. The sale price is correct, but the crossed-out original price does not appear. Why?
- Sale highlighting has separate requirements, and it is not guaranteed to appear even when those requirements are met. Check an incorrect current price separately from missing sale highlighting.[3]
- Q. Where should I look if an old price mismatch notification remains?
- In Merchant Center, check the current approval status in the “Status” column under “Products” → “All products.” The product may have been updated and reapproved since the notification was issued.[1]
Sources
- [1] 修正方法: 商品価格が一致していません - Google Merchant Center ヘルプ (Google) — accessed 2026-09-15
- [2] 価格 [price] - Google Merchant Center ヘルプ (Google) — accessed 2026-09-15
- [3] セール価格 [sale_price] - Google Merchant Center ヘルプ (Google) — accessed 2026-09-15
About the author
Shogo MizushimaCEO of kairos Inc. / AgentSignal Developer
Develops AgentSignal, a tool for measuring AI crawler visits and AI-referred traffic, and diagnosing AIO readiness. Writes about measurement and practical improvements for AI search using observed data.
Related articles
AI shopping and booking
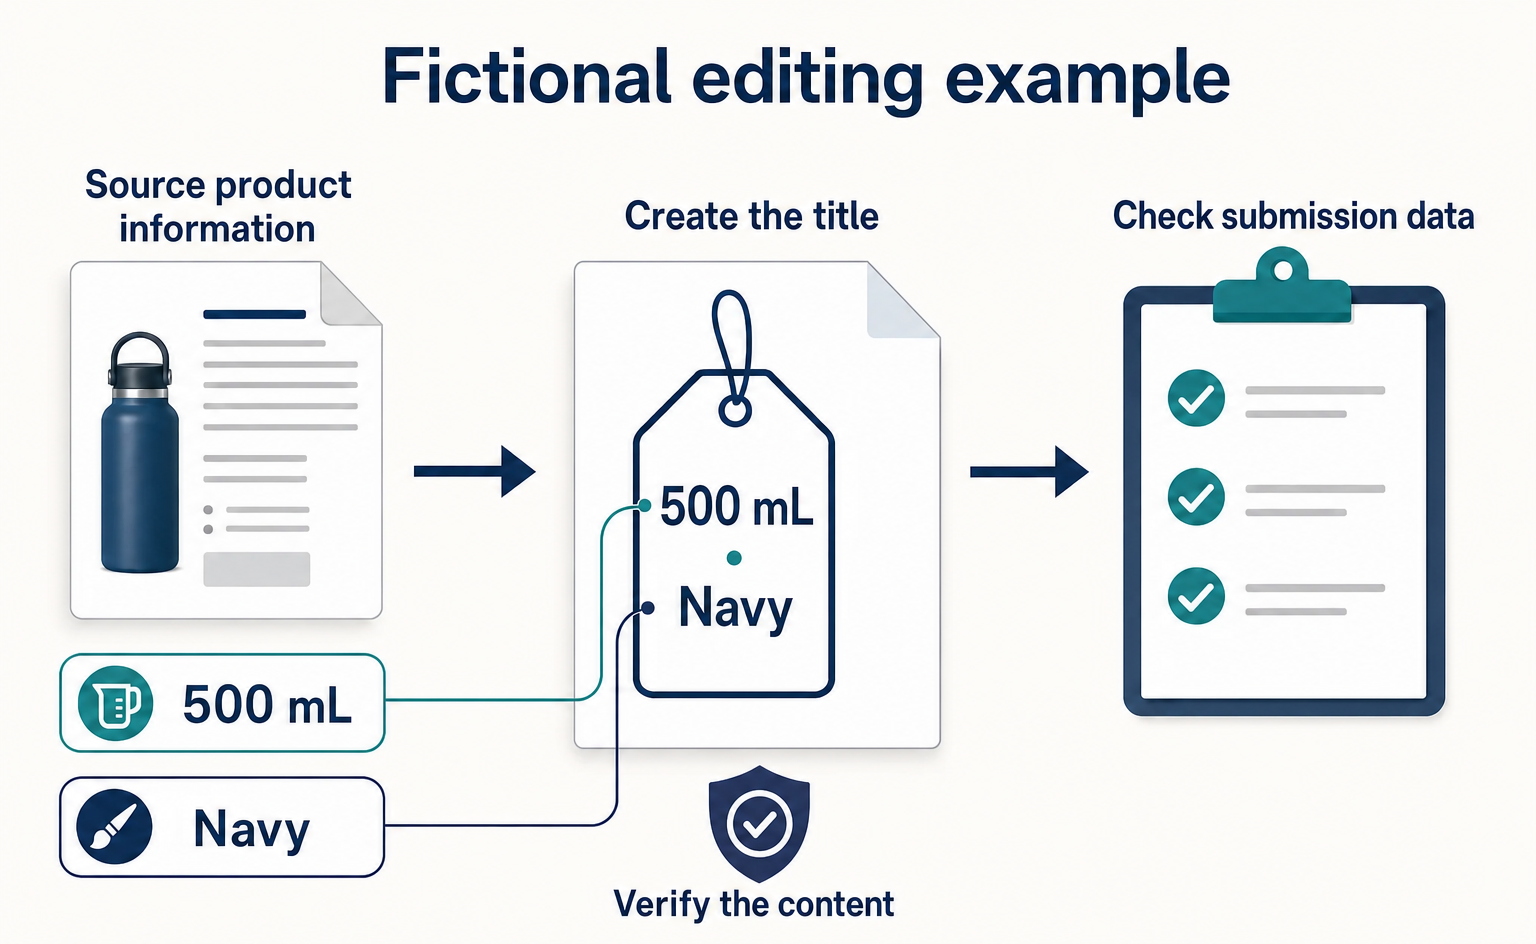
Can You Submit an AI-Written Product Title to Google As Is?
AI-written product titles need both a content review and an AI-generation designation in your product data. Using a fictional water bottle, this article explains clear product naming, structured_title fields, and checks for each submission method.
Published
AI shopping and booking
Merchant Center Misrepresentation: How to Check Business Details and Sales Terms
Learn how to read a Merchant Center misrepresentation notice, check business details and sales terms, and record corrections before requesting a review. Includes original sample worksheets. This is not a checklist that guarantees an issue will be lifted.
Published

AI shopping and booking
51% of US consumers use AI shopping tools. How much has product selection changed?
That does not mean AI placed 51% of orders. It is the share of US consumers who reported using at least one AI-powered shopping tool during the past month.
Published